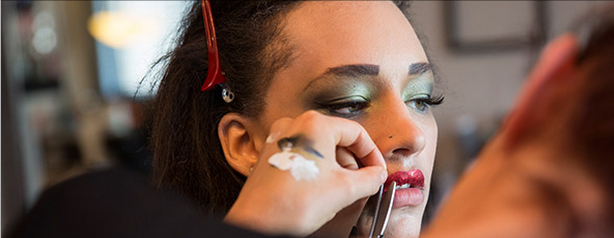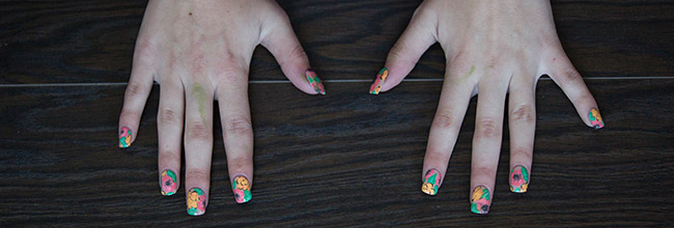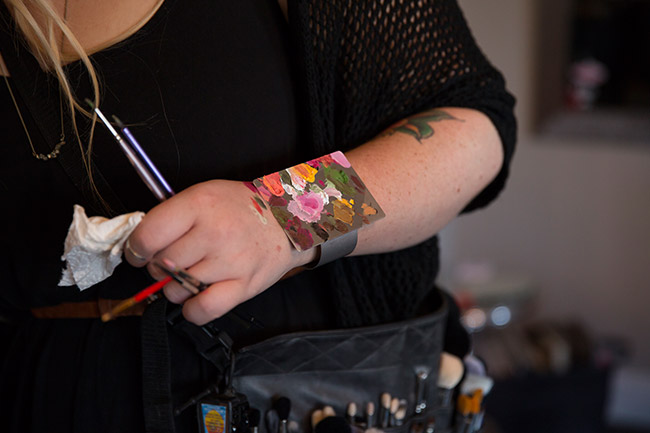
What have we been up to: In January Stefanie and I travelled to the sunny state of California to attend IMATS in LA. For those of you who don’t know, aka most of the non-beauty obsessed world, IMATS is “the worlds biggest makeup gathering”. At IMATS you can purchase makeup from hundreds of brands at a discount as well as they had classes that you could attend ranging from makeup for drag queens to makeup kit basics. Just walking around the building we got to see seriously spectacular makeup. Here are some of the photos we took from our day at IMATS. One of the best things about this trip was that we got to go with Stef’s husband Drew and good friend Dan. We explored Santa Monica, Huntington Beach, and other LA hot spots. For the first day we were there we shopped until we dropped! Nightlife in LA is so different than in Edmonton in that we were able to go to live shows at venues like the Viper Room and El Rey Theatre. Every night there were dozens of bands playing that we could pick from to go see. The last morning we went up the canon to try and take photos with the Hollywood sign but once we were up there we couldn’t figure out where the sign was… true blonde form. Going to LA in January was the best escape from the frigid winter we have been experiencing in Edmonton.
Read MoreCuba
What have I been up to: I started off 2014 in the greatest way possible because in early January I had the pleasure of joining Nicole Ashley on an adventure to Cuba to second shoot a wedding as well as style the bride Jazmin’s hair for her big day. We got to stay at the Riu resort in Varadero Cuba for 8 days and it was an experience I will not forget. The beaches were of near white sand and the water was the most perfect blue/green. Robbie and Jazmin were the best couple to have my first destination wedding experience with. Even when the weather on they wedding day turned questionable they didn’t falter or panic at all. With the strong winds and having to move the wedding off of the beach into the hotel lobby they got the most beautiful formal photos as the usually calm waters turned into turbulent waves they got these photos on a cliff. So worth the sprinkling of rain, wet shoes and nearly being attacked by dogs. *photos taken by Nicole Ashley Here are some photos of my Cuban adventure. I am proud to say I even went snorkeling in the ocean, which for those of you who know me is a major deal as I am terrified of sharks or even the chance that their could be sharks. One of the days we got to go into Havana which looks nearly untouched since the 1950s with all of the vintage cars on every street. Everyone should go to Cuba at least once in your lifetime. I’ve never been to a communist country and it was so interesting to meet locals and learn about how they live life. One thing I will say is that it made me even more grateful to live in a country like Canada.
Read MoreFAQ for brides
So often we receive emails from brides starting with the phrase ‘I’m new at this bride thing’- and that’s the case for most of our brides! Unless you happen to have a career where you are very involved in the wedding industry, been a bridesmaid 17 times, or you’ve been married before, you really don’t know the ins and outs of booking hair and makeup for your wedding day. Hopefully, these tips will help you out a bit! Q. How far in advance should I book my hair and makeup team? A. We recommend anywhere from a year to 5 months prior to the date of the wedding. If you have decided to get married on a long weekend, or during the popular months (July-September typically book up the fastest!) book as soon as possible to ensure you are booking with your favourite artists! Q. How long will makeup take? A. Depending on the skin surface of the client, desired look, and amount of coverage needed we will book each client 30-60 minutes. Q. Do you offer airbrush makeup? A. It depends on which artist is booked how they prefer to apply the makeup. Q. How long will hair take? A. Depending on the amount of hair, desired look (up or down), use of any extensions or headpieces, Hairstyling should take anywhere between 30-60 minutes per client. Q. Can I use my clip-in extensions? A. We can curl and place your own clip-in extensions for a fee of $40. Just let us know beforehand that you or anyone in your bridal party is going to be using them so we can budget a bit more time. Q. Do you offer day rates, for optional touch-ups or look changes throughout the day? A. Yes! Any add ons such as touch-ups, or look changes can be discussed with the professional when booking. Q. Is there a fee for any early morning appointments? A. Yes. Any weddings that require a start time before 7 am will result in an additional charge. Q. What if I have an allergic reaction to the makeup you are using? A. The client is required to tell the makeup artist of any allergies that they are aware of. The makeup artist/hairstylist will not be held responsible for any allergic reactions. We can always use your own trusted makeup products on you…
Read Morevancouver behind the scenes: the making of a video
Stefanie and I work a lot with the photographer Nicole Ashley and she commissioned a video to be made about her photography work and what goes into what we do as a team. Now we can finally say the video is DONE. It all started months and months ago and few people truly know how much went into the creation of this video so Stefanie and I thought we would share some behind the scenes photos of the making of the video. We traveled in April to Vancouver to meet up with our cinematographer Brian Ceci and did 4 photoshoots in the span of 2 days. There was a lot of rain, coffee runs, power outages, laughter and memories that none of us will forget. When we got back to Edmonton we just knew we could do even bigger and better shoots to showcase our skills so we flew Brian out to Edmonton to once again do 3 photoshoots. Working with him and Amor Jewelry in Edmonton was a dream come true for us as a creative team. In the future we plan to post more of the process and inspiration of how we came to the final images. These specific behind the scene images were from our shoots in Vancouver. Hermela’s boudoir behind the scenes. Her final images can be viewed here Ron and Alexia wedding behind the scenes. Their final images can be viewed here: Jasmine’s creative shoot behind the scenes. Final images can be viewed here, here and of course here Using Janna’s sewing skills to hem Brians pants
Read MoreLA calling
In celebration of the coming winter I packed my bags, and with Nicole Ashley in tow, I set off for a week in beautiful Los Angeles in October. We attended a 3 day conference called Adventure Always centered on following your creative dreams and finding your path in your industry with creative-type speakers of the photographers/top instagramers/stylists variety. I got to meet a ton of amazing people and hear some really moving stories *que Celine Dion top hits album*. We also went to a private Kye Kye concert on the ship that definitely made me a fan of their music. For 5 days the Queen Mary in Long Beach was our home, “We’re on a boat” was our mantra. Fun fact: the Queen Mary is the most haunted building in all of the USA…needless to say we didn’t get much sleep, either due to the ghosts or all the adventures we were up to, we’re not entirely sure. Post-conference, Nicole and I explored Santa Monica and managed to squeeze in a little retail therapy. The fates were on our side while were were there as I got to see one of my favourite new bands Crystal Fighters perform at the Fonda Theatre in Hollywood. If you ever get a chance to see them live – DO IT – it was easily one of the best concerts I have ever been to, for real. And now, here are some of my iPhone pics taken documenting our adventure. The End. http://rd.io/x/QQ4a4Ddeg-17/ ** all photo’s were taken with an iPhone 5s by Nicole Ashley and I.
Read Moreadventures in ear piercings
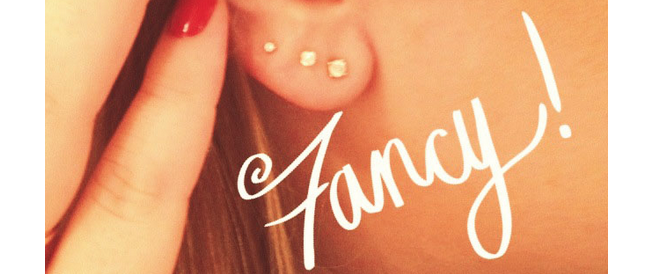
Like every girl, I have insecurities and one of them was always brought to my attention when I wear my hair up. I sometimes thought my ear lobes were far too large and the single peircing in each lobe only amplified it. To a “normal” bystander I am sure my ear lobes weren’t even noticibly that large but in my mind they were something I needed to somehow change. The simplest solution I could come up with was to add more earrings to take up all that extra space. I decided spur of the moment to get 2 more holes pierced in each ear lobe. Some friends came to visit me at work and conveniently I had a coffee break coming up so I had them tag along with me for moral support. Lisa and Nicole were such great entertainment support during the whole “tramatizing” process. $130 and three suckers (two for my amazing supporters) later I have 2 more sparkly studs in each ear, my lobes look avergae size and barely any pain was felt!
Read Morezombie halloween makeup
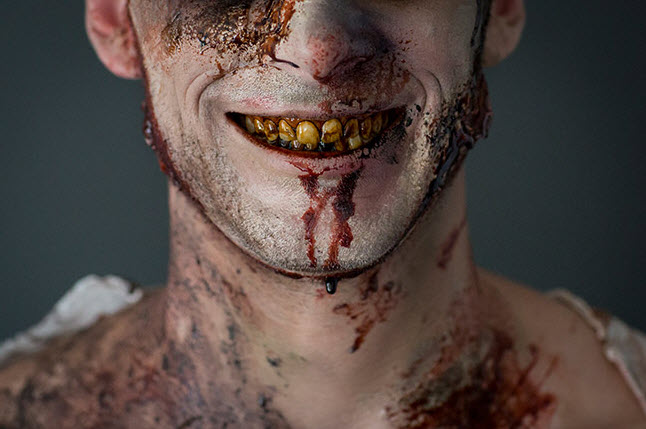
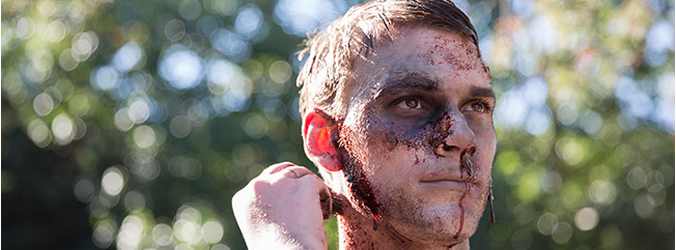
When discussions began about which looks to create for our Halloween makeup series, it was obvious Stef and I were bound to attempt the classic Zombie makeup as neither of us had created the look before. Being the extreme scaredy cat that I am – I’m talking phobias galore – and having never so much as seen any tv/movie with zombies in it, I had to do a little internet research on what zombies really looked like. My older brother even joked that one – ie. me – could not create a zombie look without having ever seen anything with zombies in it. The rebel in me took that as a challenge and it made me want to create and even more impressive look. For this look I added a lot of hair conditioner to Tyler’s hair to give it that greasy lived in look – I learned zombies don’t shower or really actually take care of themselves at all. I then used latex and toilet paper to give his skin more texture and scars. I created my own blood mixture with corn syrup, cocoa powder (to make the blood look a more realistic rust colour) and red food colouring. I layered on MAC Face and Body in white mixed with a little bit of green from the MAKE UP FOR EVER Flash Palette to created the look of dead skin. I then went in with some MAC eye shadows in navy, red, purple and green to create bruises and damaged skin to make him look half dead and added the blood as the final touch. I successfully impressed my brother, among others – even eliciting genuine screams. How do you think I did? Model: Tyler for Numa Models MUA: Janna Huget Hair: Janna Huget Photography: Nicole Ashley
Read Morezombie nail art
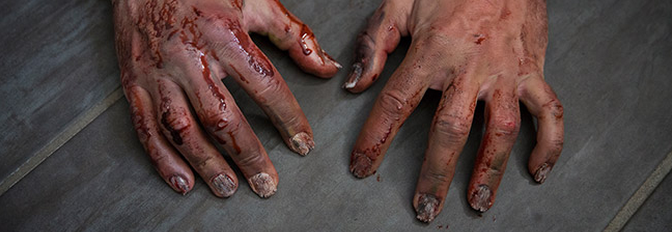
These nails turned disturbing so fast. They looked strange in the bag as they looked like split nails then I glued them onto our model Tyler’s nails and added makeup and they truly came to life. These nails are what nightmares are made of and we have the amazing Kalika to thank for them! Adding the nails really takes the zombie look to the next level. Photography: Nicole Ashley
Read Morehalloween makeup sneak peek look 4
This is the last look of our Halloween makeup series and was for sure the messiest and most fun to create. Here is a preview of the final look we are posting on Friday. ****All photos were taken by the lovely Nicole Ashley
Read Morewitch halloween makeup
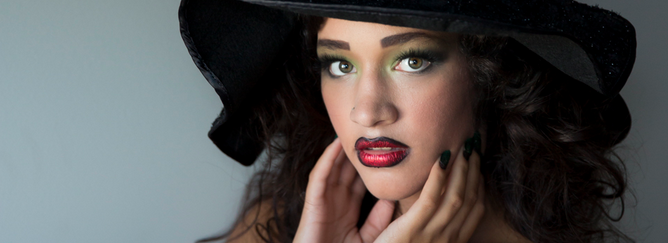
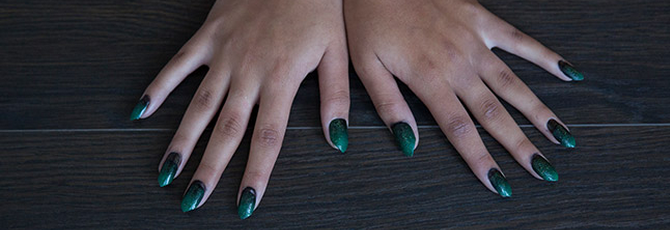
I was so excited to do my version of a witch this Halloween, I wanted pretty, high fashion hair and makeup to along with her glamorous and dramatic nails! I found the witch hat at Micheals, and then just glued on some black flowers for the glam effect. For her makeup I did dramatic contouring using Mac makeup and one of my new favourite contouring products by Kevyn Aucoin. Using a combination of green and black shadows and a variety of different paint pots for her eyes. For her lips, I used ‘the red glitterati’ by Violent Lips and was so happy with how it turned out! I am such a fan of how this look turned out and loved using so many new fun products! Another big thank you to Kalika Martin for her nail art and to Nicole Ashley for the amazing photo skills! Xo Model: Kailee for Numa Models MUA and Hair: Stefanie Carlson Nail art: Kalika Martin Photography: Nicole Ashley
Read More