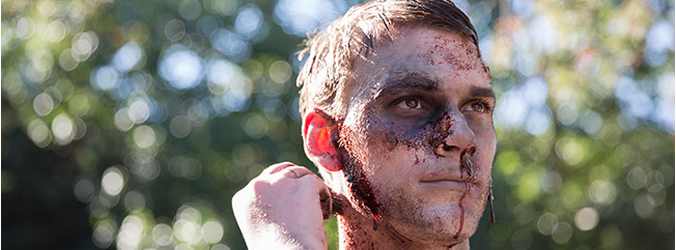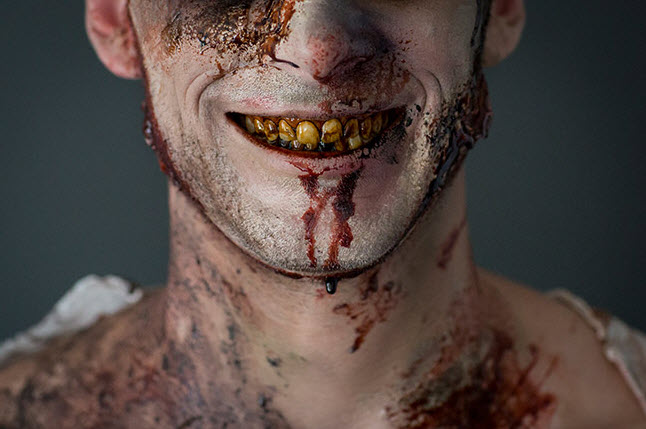
When discussions began about which looks to create for our Halloween makeup series, it was obvious Stef and I were bound to attempt the classic Zombie makeup as neither of us had created the look before. Being the extreme scaredy cat that I am – I’m talking phobias galore – and having never so much as seen any tv/movie with zombies in it, I had to do a little internet research on what zombies really looked like. My older brother even joked that one – ie. me – could not create a zombie look without having ever seen anything with zombies in it. The rebel in me took that as a challenge and it made me want to create and even more impressive look. For this look I added a lot of hair conditioner to Tyler’s hair to give it that greasy lived in look – I learned zombies don’t shower or really actually take care of themselves at all. I then used latex and toilet paper to give his skin more texture and scars. I created my own blood mixture with corn syrup, cocoa powder (to make the blood look a more realistic rust colour) and red food colouring. I layered on MAC Face and Body in white mixed with a little bit of green from the MAKE UP FOR EVER Flash Palette to created the look of dead skin. I then went in with some MAC eye shadows in navy, red, purple and green to create bruises and damaged skin to make him look half dead and added the blood as the final touch. I successfully impressed my brother, among others – even eliciting genuine screams. How do you think I did? Model: Tyler for Numa Models MUA: Janna Huget Hair: Janna Huget Photography: Nicole Ashley
Read Morezombie nail art
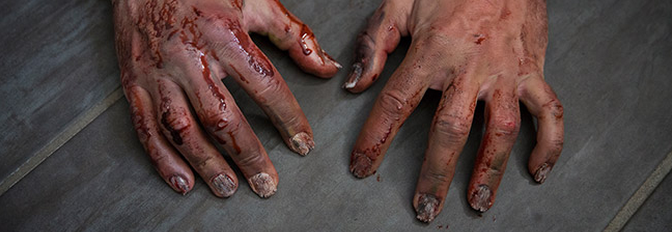
These nails turned disturbing so fast. They looked strange in the bag as they looked like split nails then I glued them onto our model Tyler’s nails and added makeup and they truly came to life. These nails are what nightmares are made of and we have the amazing Kalika to thank for them! Adding the nails really takes the zombie look to the next level. Photography: Nicole Ashley
Read Morehalloween makeup sneak peek look 4
This is the last look of our Halloween makeup series and was for sure the messiest and most fun to create. Here is a preview of the final look we are posting on Friday. ****All photos were taken by the lovely Nicole Ashley
Read Morewitch halloween makeup
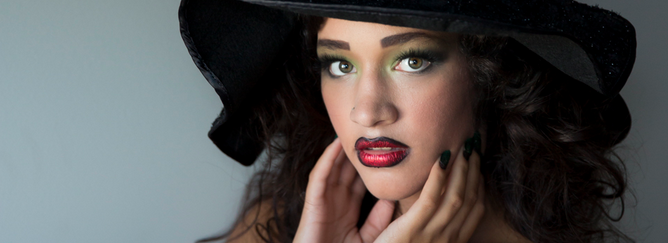
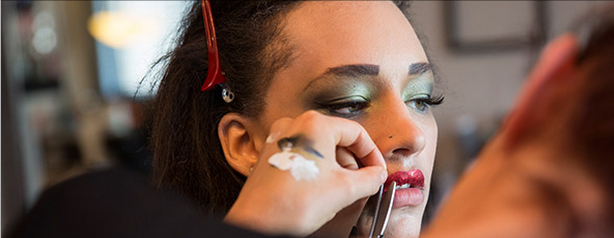
I was so excited to do my version of a witch this Halloween, I wanted pretty, high fashion hair and makeup to along with her glamorous and dramatic nails! I found the witch hat at Micheals, and then just glued on some black flowers for the glam effect. For her makeup I did dramatic contouring using Mac makeup and one of my new favourite contouring products by Kevyn Aucoin. Using a combination of green and black shadows and a variety of different paint pots for her eyes. For her lips, I used ‘the red glitterati’ by Violent Lips and was so happy with how it turned out! I am such a fan of how this look turned out and loved using so many new fun products! Another big thank you to Kalika Martin for her nail art and to Nicole Ashley for the amazing photo skills! Xo Model: Kailee for Numa Models MUA and Hair: Stefanie Carlson Nail art: Kalika Martin Photography: Nicole Ashley
Read Morewitch nail art
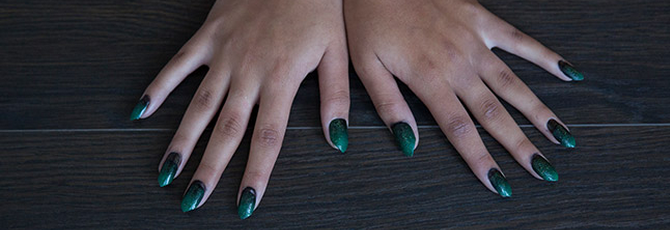
Once again we had Kalika create amazing nail art to go with this weeks look. By the title of this post I am sure you guessed that these are for a witch makeup look. Come back tomorrow to check out the final look! ****All photos were taken by the lovely Nicole Ashley
Read Morehalloween makeup sneak peek look 3
Today we are so excited to bring you the third installment in our Halloween makeup series. Check out these behind the scenes photo’s and try and guess what look we tried to achieve. ****All photos were taken by the lovely Nicole Ashley
Read Morewallflower halloween makeup
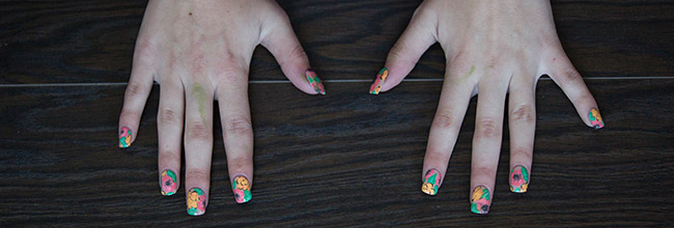
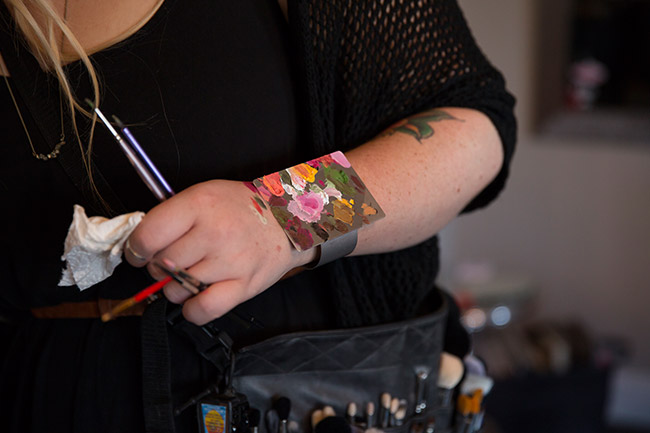
If you couldn’t guess from this weeks behind the scenes and nail art photos this Halloween makeup look centers around floral. Most people who know me know that I love floral so it shouldn’t come as a huge surprise that I worked this floral wall paper makeup look into one of the four looks that we were going to create. I even have floral incorporated into almost every room in my house which was showcased on Kristina’s blog. For this look I evened out the models face then went in with my Make Up For Ever Flash Palette and hand painted the flowers and vines on her face. You would definitely not be labelled a wallflower in this makeup. Model: Claire B. for Numa Models MUA: Janna Huget Hair: Stefanie Carlson Photography: Nicole Ashley
Read Morefloral nail art
For the next look in our Halloween Makeup series we asked Kalika if it would be possible for her to create some floral nail art for our model to wear. She really came through for us and hand painted these amazing nails to go along with the look. Make sure to come back tomorrow to see the final images from this look!
Read Morehalloween makeup sneak peek look 2
Last week we featured our pop art Halloween makeup look and this week we have an exciting new look to showcase. Here are some sneak peek photos of the look coming together. ****All photos were taken by the lovely Nicole Ashley
Read Morepop art halloween makeup
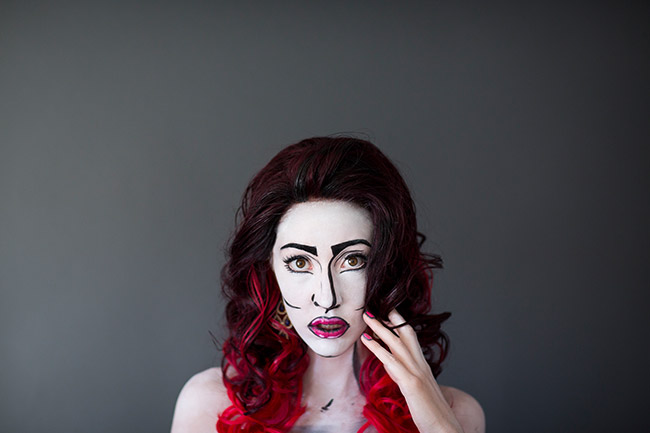
You have seen the behind the scenes, the pop art nail art, and now here is a look at the finished product! Marissa was such a trooper as I applied and re-applied this makeup, each line was carefully added and it was like she didn’t breath. I have wanted to try cartoon like makeup for quite a while now, but it wasn’t until I found the amazing Karla Powel’s pop art post until I was fully inspired. I started by slicking all Melissa ‘s hair back into a ponytail. Used a matte primer, and began painting her face white. I then set her face and began adding the black face expressions, finishing with lips and lashes! it was a bit of a challenge working against heat, and sweat, but I am really happy with the finished result! Thank you for taking the time to look at my pop art halloween makeup! Model: Marissa H. for Numa Models MUA and Hair: Stefanie Carlson Photography: Nicole Ashley
Read More